
Bezels and Bezel Shards - Hero Gauge Explained
Bezels and bezel shards in Resonance of Fate: how the Hero Gauge fuels Hero Actions, what Critical Condition does, and verified ways to restore segments.
FAQ
What are Bezels in Resonance of Fate?
What are Bezel Shards?
How many shards restore one Bezel?
What is Critical Condition?
How do I refill Bezels without shards?
Does Enhanced Remaster change Bezel counts?
If Hero Actions are the verbs of combat, Bezels are the fuel and the shield. This guide explains the Hero Gauge, shard pickups, and Critical Condition using in-game tutorial text—not a shard location map (those coordinates vary by encounter and were not verified for this article).
What is the Hero Gauge?
The Hero Gauge sits at the bottom center of battle UI as a row of orange Bezels. Each segment represents one charge of Hero Action or Tri-Attack economy and one layer of protection against direct HP loss.
According to Tips 2: Bezels and Critical Condition and Combat 4: The Hero Gauge:
- While at least one intact Bezel glows orange, party hits count as scratch damage on characters until the gauge auto-heals them (Combat 4).
- Auto-healing heavy scratch shatters Bezels into shards on the field; four shards recreate one Bezel (Tips 2).
- Resting at the Base or an Energy Station refills the entire gauge (Tips 2).
- The tutorial gauge can hold 15 Bezel slots with only some filled early on—the row grows as you find shards (Combat 4).
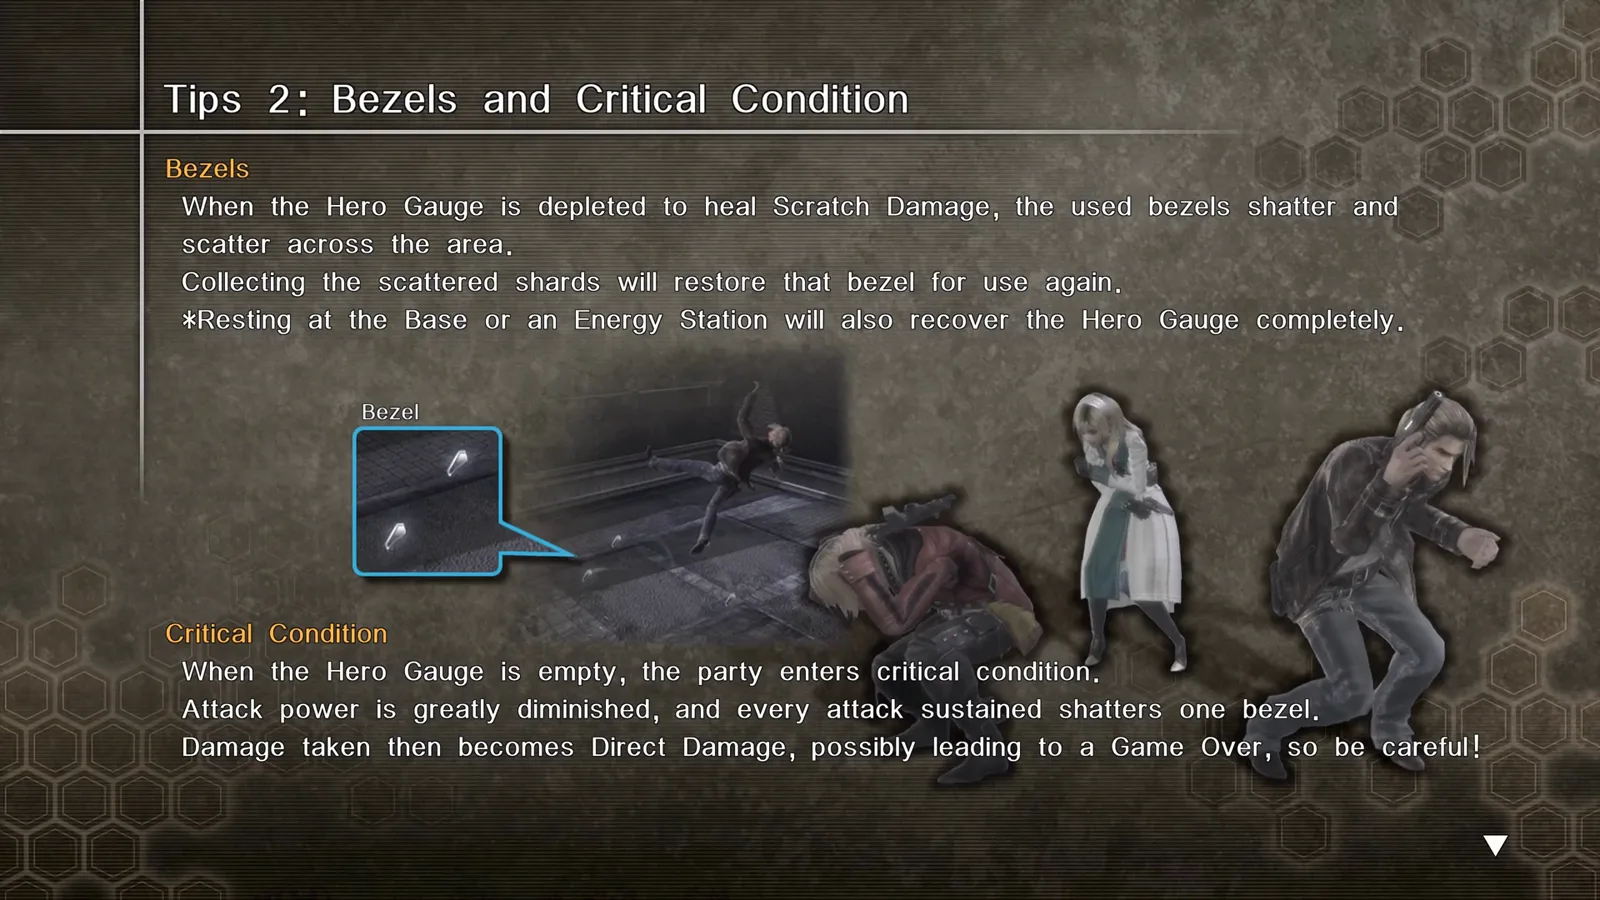
Steam guide author Erickdesu adds that normal attacks and healing items do not consume Bezels, while Hero Actions and Tri-Attacks each cost one Bezel.
How do Bezels protect HP?
Wikipedia’s combat summary matches the tutorial: while at least one Bezel remains intact, hits that would zero a character instead knock them down and shatter a Bezel into shards. Only when no intact Bezels remain does HP drop directly—immediately paired with Critical Condition if the gauge is empty.
Erickdesu’s Steam guide also notes large HP swings can scatter shards even when you are not spending Hero Actions—treat sudden gauge loss as a signal to pick up drops or break enemy shields for refills.
What are Bezel Shards on the field?
Shards appear as glowing diamond pickups where a Bezel broke. Tips 2 zooms in with a “Bezel” callout during combat footage.
| Action | Effect |
|---|---|
| Hunter walks over shard | Restores part of the gauge (four shards restore one Bezel per Wikipedia) |
| Enemy walks over shard | Enemy heals—stun or launch them to drop stolen shards (Steam guide) |
| Wipe all enemies | Refills all Bezels (Steam guide) |
| Gauge break / shield break | Can restore Bezels (Steam guide; also shown in arena objectives) |
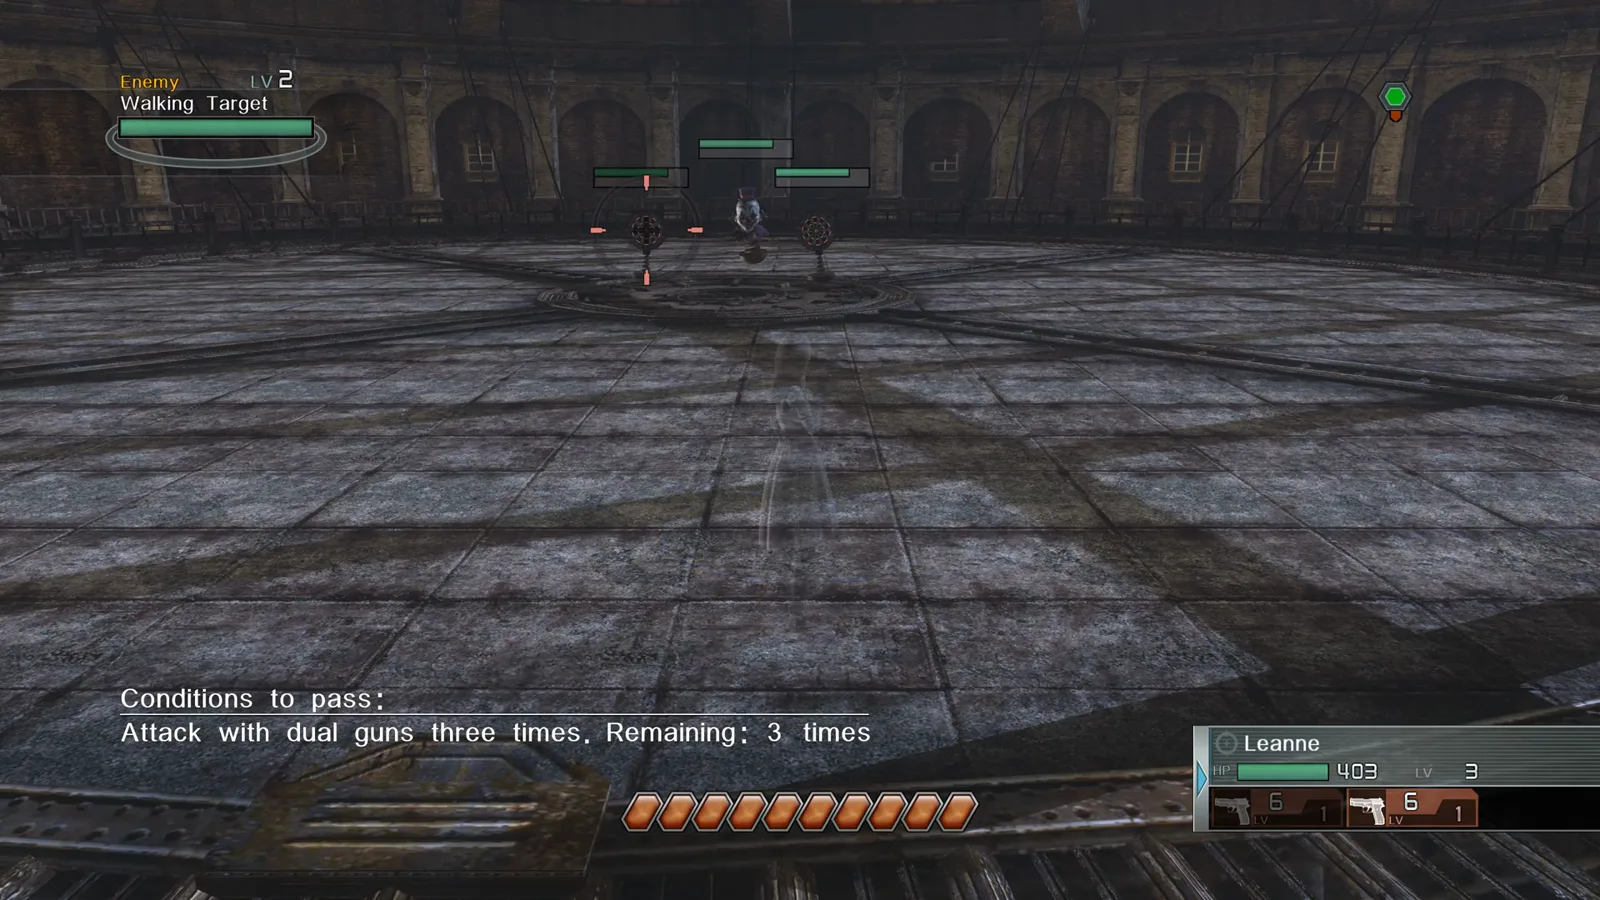
Pick up shards before enemies reach them—Tips 2 and threetimes both note foes can heal from stolen shards.
What is Critical Condition?
When the Hero Gauge is empty, Critical Condition triggers. Tips 2: Bezels and Critical Condition lists:
- Attack power drops sharply.
- Hero Actions are disabled until you restore segments.
- Damage taken becomes direct HP loss; sustained hits can shatter additional gauge slots, so wipe risk spikes.
Wikipedia’s “critical mode” summary matches: slower shooting, no Hero Actions, and direct damage from enemy attacks. Treat an empty gauge as a finish-or-retreat alarm.
How do Hero Actions and Tri-Attacks spend Bezels?
Both systems consume one Bezel per activation, whether you run solo or launch a Tri-Attack. That cost is why you bank Resonance separately—Tri-Attack still spends only one Bezel even though all three hunters move. See /guides/hero-action-guide/ and /guides/tri-attack-and-resonance-points/.
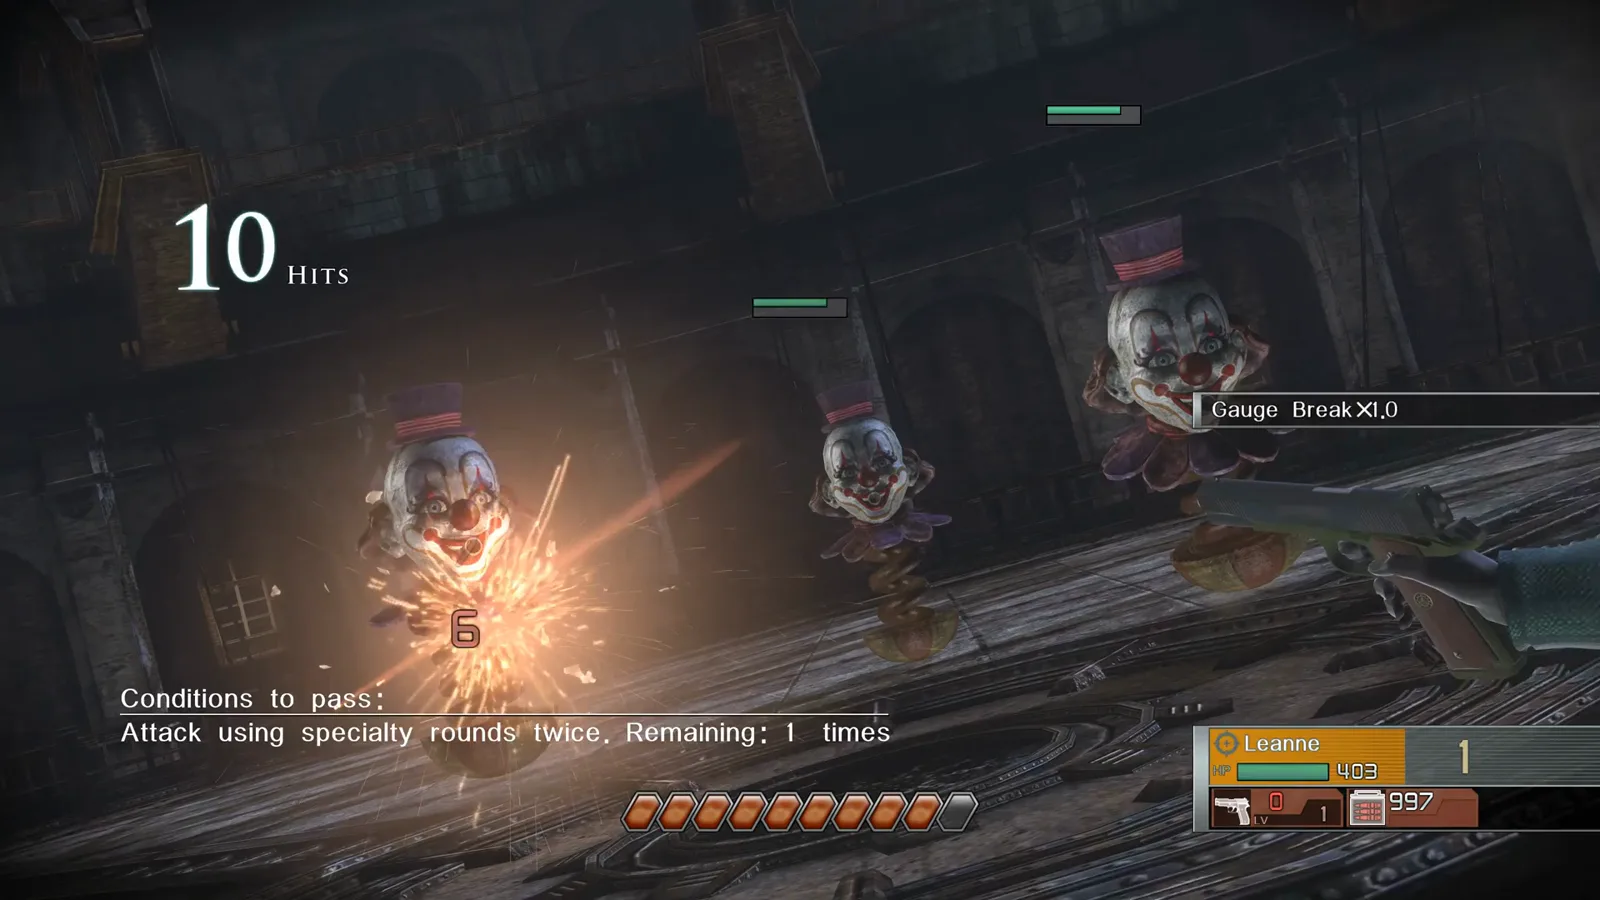
Gauge breaks (Combat 13) crack an enemy’s main HP gauge on handgun direct hits; scratching then directing the cracked section can refund a Bezel. Breaking individual shield parts also refills Bezels per threetimes and Combat 4. Scratch versus direct rules still apply—/guides/scratch-damage-vs-direct-damage/.
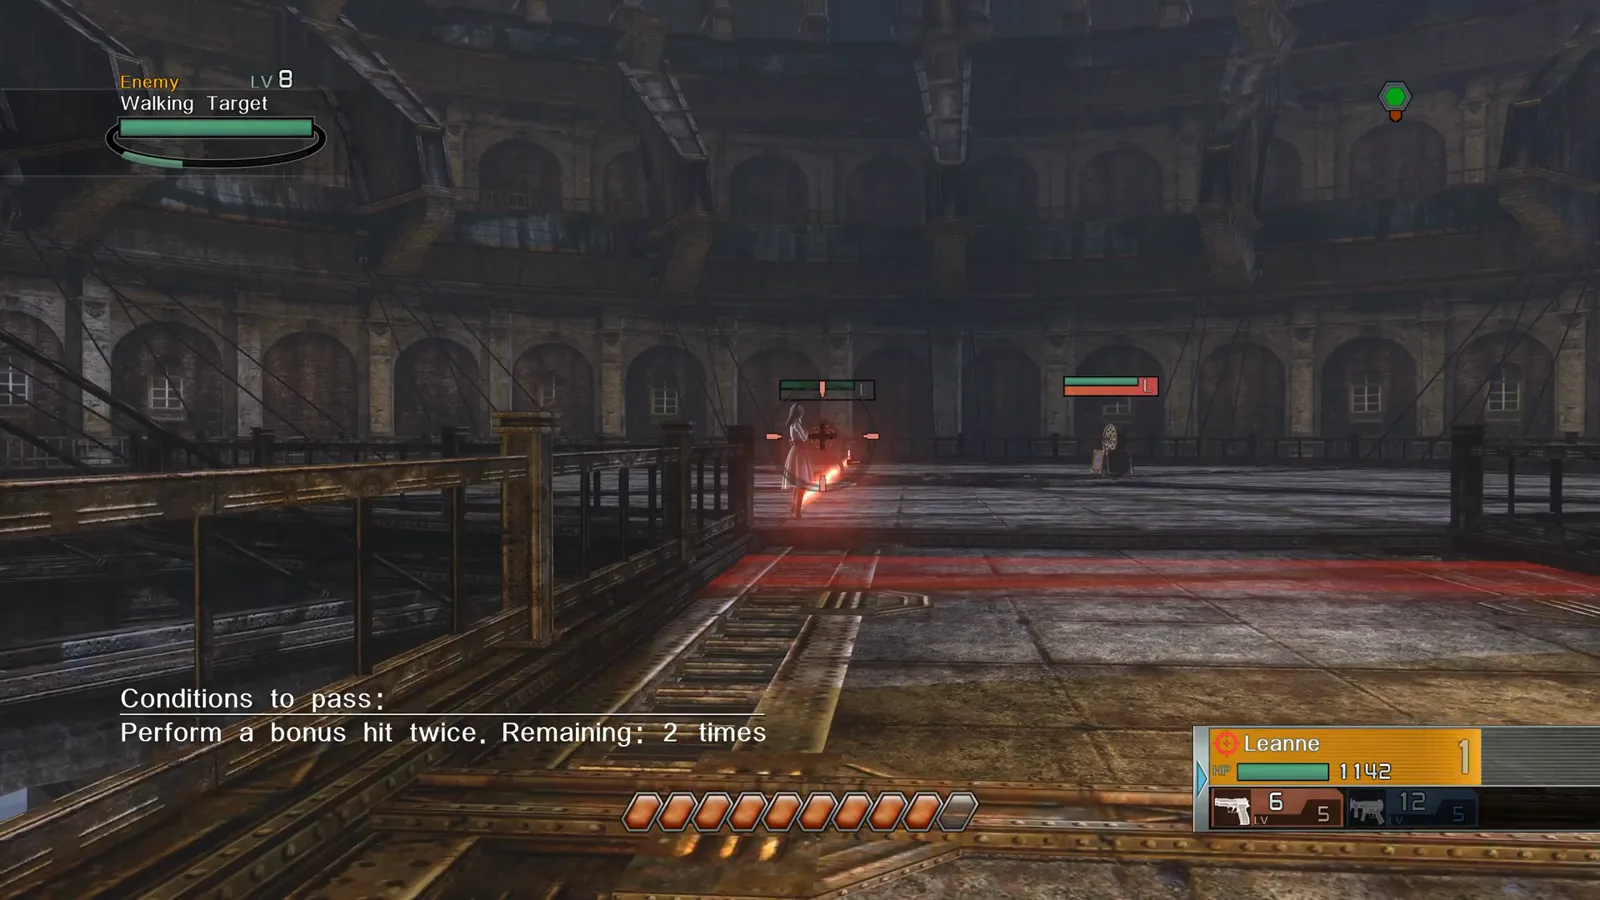
That arena frame highlights how Resonance (top of the party card) and Bezels (bottom row) display at the same time—two separate resources.
What about “bezel shards locations”?
Search results often mix this game with unrelated “shard location” lists. In combat, shards spawn where Bezels break during that fight, not at fixed world coordinates. This article intentionally skips unverified overworld pickup tables. For macro progression tiles, see /guides/energy-hex-world-map-guide/ (separate system).
Return to the full loop in /guides/battle-system-explained/ and gear tuning in /weapons/best-gun-setup/.
Sources
- Erickdesu — Basic Beginner guide (Steam Community)
- threetimes — Resonance of Fate FAQ / walkthrough (in-game tutorial text)
- Wikipedia — Resonance of Fate gameplay (Bezels and critical mode)
- Xorbius — Resonance Of Fate 4K/HD Edition (PC) 4K Tutorials (YouTube, video ID
eA6D7sVDh3I) - Footage frames: Xorbius — Resonance Of Fate 4K/HD Edition (PC) 4K Tutorials (YouTube)
Last verified: 2026-10-31
Related Articles
bosses
Tar Man Boss Guide — Chapter 1 Lucia Boss Fight
Tar Man boss strategy for Resonance of Fate Chapter 1: oil pit priority, Drum Carriers, cover boxes, and handgun finishers in the Lucia dungeon (Downtown area 5).
bosses
Tesla Tortoise Boss Guide — Chapter 2 Blackout Finale
Tesla Tortoise boss fight guide for Resonance of Fate Chapter 2: shock status, bunker cover, scratch body parts, and Metal-Coated MG ammo in Hughes Power Station.
guides
2× Game Speed in Enhanced Remaster — What It Does
Resonance of Fate Enhanced Remaster 2× game speed explained: field, battles, and events run faster. Benefits, limits, and what we could verify on menu footage.
Was this helpful?
Thanks for the feedback!